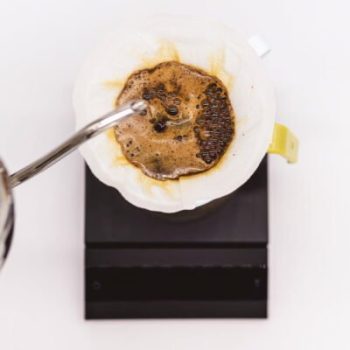
The world of coffee brewing methods is often a complicated one, especially when you don’t know how most of them work.
That is why we have created this super simple guide to the most popular brewing methods. If you’re buying high quality beans, you should be using a high quality brewing method.
Find exactly how each method works, the pros and cons, and which method is best for you.
You can also read a bit about the history of each method, including the feud between France and Italy on who created the cafetiere.
The Aeropress Brewing Method
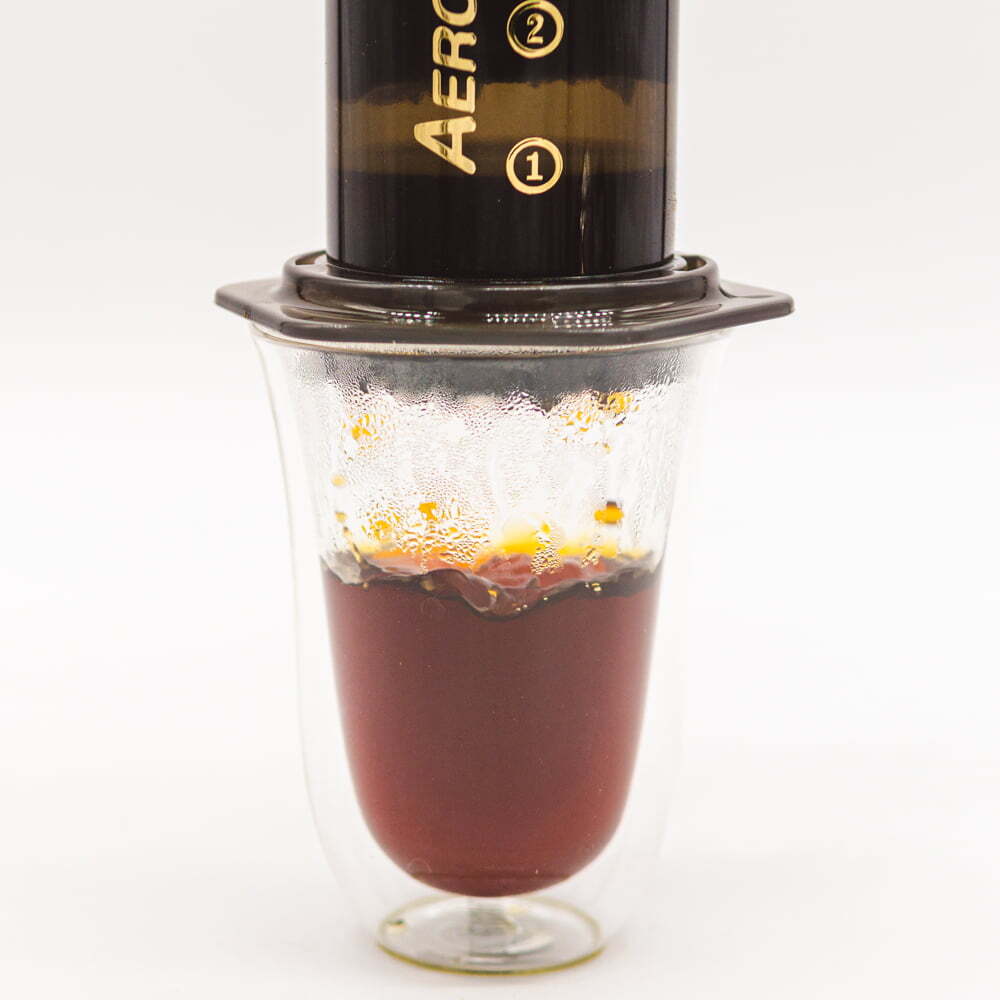
Ah, the wonderful Aeropress Coffee Maker. Light weight, quick, easy, produces an amazing tasting brew… need we go on?
But how did we become blessed with this brilliant brewing method?
We have Alan Adler to thank. In 2004 he began playing around with different brewing methods, attempting to find a way that produced the best results. This led him to creating the Aeropress, which he launched in November 2005.
The product had a slow start, and many were sceptical of this new brewing method. After gaining the approval of many people across the world, the Aeropress has since been a huge success and produces delicious results.
We also make recommendations in our other article about which coffees are best with the Aeropress.
You are currently viewing a placeholder content from Default. To access the actual content, click the button below. Please note that doing so will share data with third-party providers.
More InformationTime
If you’re in a rush, the aeropress can give you a brew in just 11 seconds. Although, this isn’t recommended to get the best flavour. Allow for up to 4 minutes.
Difficulty
The aeropress method is known for its ease of use and speed, making it a great option if you don’t have much time in a morning.
What you will need
Method
- Put the water on to boil.
- Place a filter in to the plastic cap and pour some hot water over it to keep the filter in place and heat the brewing vessel.
- Add one scoop into the Aeropress.
- Pour in enough hot water for one cup.
- Make sure all the coffee is immersed in the water and leave to steep for 30 seconds.
- Stir the coffee again and leave for a minute.
- Screw on the cap and place the aeropress over your mug.
- Push down the aeropress and it will gradually drip into your mug.
- Unscrew the cap, dispose of the used grounds and clean the aeropress.
Result
An aeropress tends to give a smooth, rich and ‘clean’ tasting coffee.
Top Tips
It is difficult to put an exact time on how long you should brew in an Aeropress. To get to the ‘sweet spot’ it could take 30 seconds, or it could take 4 minutes. Depending on your grind size will depend on how long it takes to get there as the water will have further to travel into the coffee.
Perfect for
Those in a rush or on the go. It is also great to take on holiday or when camping.
Not suitable if
You don’t like to use paper filters, or you want a very strong coffee.
Pros
- One of the fastest brewing methods. Brew in 11 seconds? Yes please!
- A very easy method once you’ve practiced a few times.
- Cleaning is a dream, so this is a huge bonus.
Cons
- A paper filter is required for each brew.
- You can only make one cup with an Aeropress so it’s not the best method if you are hosting a large group of people.
Stove Top Espresso Maker or Moka Pot Brewing Method
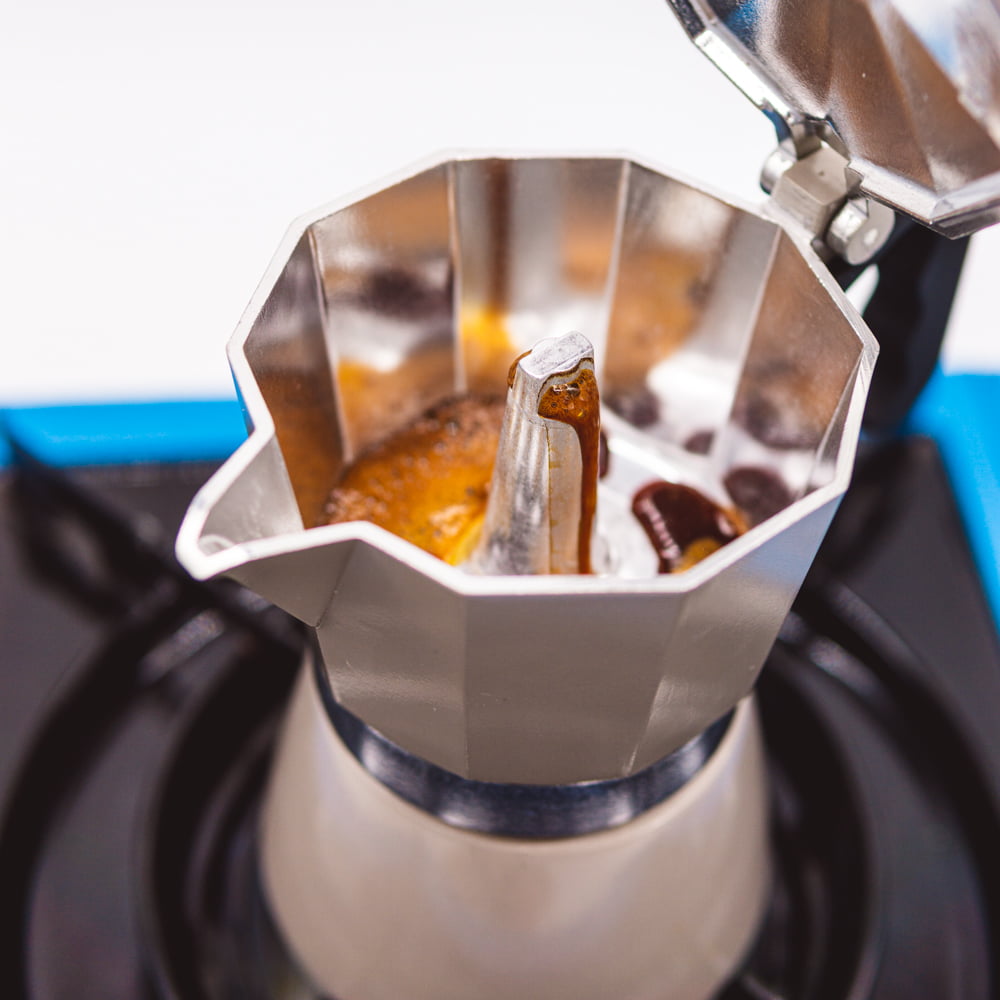
Do you want to feel like you’re sat on a rustic balcony sipping your espresso in the heart of Rome?
A traditional moka pot is the brewing method for you (also known as a stove top espresso maker).
This is the true Italian style of brewing coffee and gives an authentic experience. But, how did it come about?
Luigi De Ponti created the design and named it after the city Mocha in Yemen. It was Alfonso Bialetti who patented it in 1933 and Bialetti Industrie continues to produce the device under the name ‘Moka Express’.
Time
Pretty fast. It shouldn’t take any longer than 5-6 minutes.
Difficulty
There are a few different parts to a stove top espresso maker, but once you have practised this method a few times it does become an easy routine.
What you will need
- Stove top espresso maker
- A hob
Method
- Fill the bottom chamber with freshly boiled water.
- Add ground coffee to the filter funnel.
- Screw the filter funnel and top section back on to the bottom chamber.
- Put the stove top espresso maker on a low heat.
- Remove when the top part has filled with coffee.
- Serve and enjoy.
Result
This method should produce a sharp and strong-tasting coffee.
Tips
It is best to use boiling water in the bottom chamber rather than cold. If you use cold the coffee will be on the heat a lot longer whilst the water is heating up, which can give a bitter taste.
Perfect for
Those who have a little more time and want an authentic Italian experience.
Not suitable if
You need a super quick method and don’t like to spend more time than necessary time making coffee.
Pros
- The stove top espresso maker produces a delicious, rich and strong coffee.
- This is a portable method that can be taken anywhere that has access to a stove.
Cons
- It is slightly more time consuming than other methods, such as the Aeropress.
- Some don’t like the flavour of strong coffee.
Espresso Machine
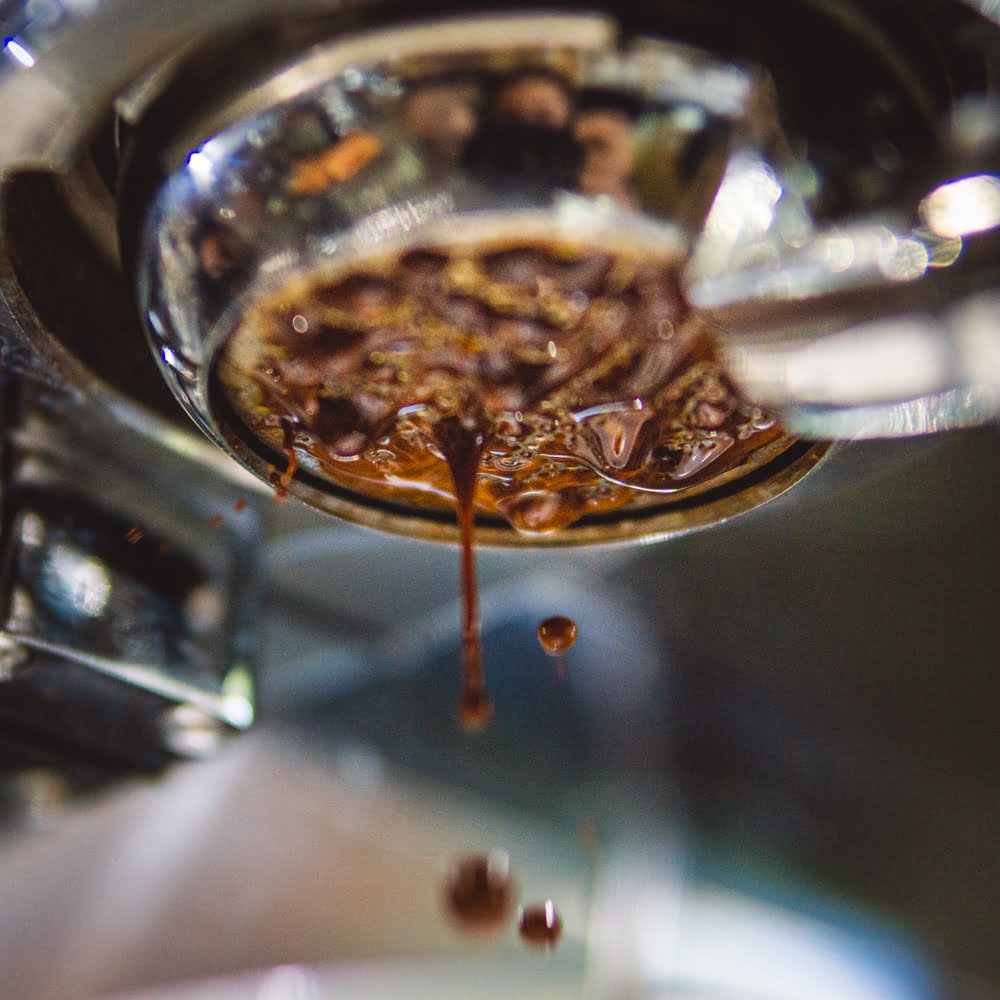
The majestic espresso machine.
To beginners, it is a complicated contraption.
Once mastered, it is a wonderful invention that provides you with the sweet nectar of an espresso shot.
Angelo Moriondo invented and patented the machine in 1884. Although, an improved version was patented in 1903 by Luigi Bezzera where it was produced commercially for the general public.
Time
Once the machine has heated up (which can take 5 – 45 minutes), coffee brewing is pretty fast and can take less than 30 seconds.
Difficulty
It depends on the type of machine. Some are more user friendly and will consistently produce a delicious shot.
However, some may be a little more complicated and the flavour can greatly depend on factors such as grind size, how firmly you press the coffee into the portafilter or the temperature of the water.
What you will need
- Espresso machine
- Tamper
Method
Every machine is different, so we recommend following the instructions from your supplier.
Result
A machine will give you a shot of espresso. This should be strong, rich and full of flavour.
Tips
An espresso machine is a big commitment as it requires more care than most other brewing methods. It is vital you clean it often and the correct way without damaging it. Here is a step by step video on how to clean your espresso machine:
You are currently viewing a placeholder content from Default. To access the actual content, click the button below. Please note that doing so will share data with third-party providers.
More InformationPerfect for
Those who like to be creative with their coffee and produce different types.
Not suitable if
You just want an Americano that doesn’t take much time or effort.
Pros
- A quick way to get a shot of espresso.
- Produces high quality coffee.
- Allows you to be more creative.
Cons
- Some machines can be quite complicated to use.
- Requires regular cleaning which can be time consuming.
- Some machines can be very expensive.
Hario V60 Drip Coffee Maker
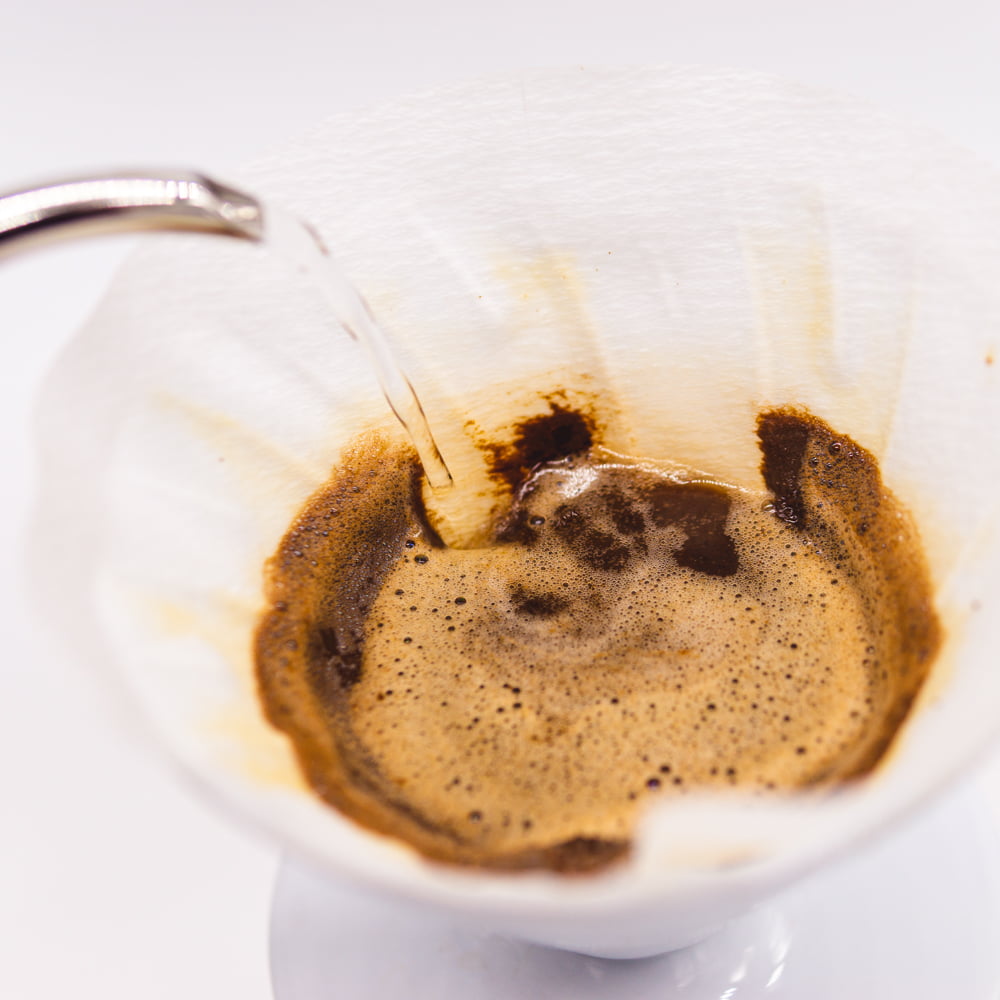
Hario launched in 1921, focusing on heat-resistant glass ware and tools for scientific research, Alternative Brewing tells us.
30 years later, Tsuruoka San began experimenting with cone shaped devices to make coffee brewing a little easier, as there were many complicated steps during the 1950s in Japan.
The Hario V60 dripper was later released in 1980, with a more up to date version being designed in 2004.
Time
A quick method that shouldn’t take longer than 4 minutes once your water has boiled.
Difficulty
This method doesn’t require a great level of skill but does require a lot of concentration. Pay great attention to the way you’re pouring and time between each pour.
What you will need
- A V60 dripper
- A long-spouted pour over kettle
- Filter paper
- A timer
Method
- Put your water on to boil.
- Fold the filter paper along the seam and place into the V60 dripper.
- Put your V60 dripper over a cup or mug.
- Pour some boiling water over the filter paper.
- Allow the water to drain out and then place a scoop of coffee into the filter.
- Start to pour the hot water over little by little, allowing about 30 seconds in between each pour.
- Watch the coffee drip into your mug and take off once it is full.
Result
This should give you a refreshing cup of coffee that is still rich and full of flavour. There should be no bitterness.
Tips
Wait a couple of minutes after the water has boiled for best results. Also, when pouring the water try starting in the middle of the coffee and then spiralling outwards to fully extract all the flavours.
Perfect for
If you have a little extra time and are looking for a rich, flavourful coffee that isn’t bitter.
Not suitable if
You don’t have the time or concentration to go back and forth pouring and monitoring the coffee.
Pros
- A mess free method that requires little clean up. Simply dispose of the filter and wash the V60 dripper.
- This is an affordable method that produces exceptionally high-quality drink.
Cons
- You will need to purchase speciality filter papers.
- This is one of the methods that requires the most care and attention.
Cafetiere
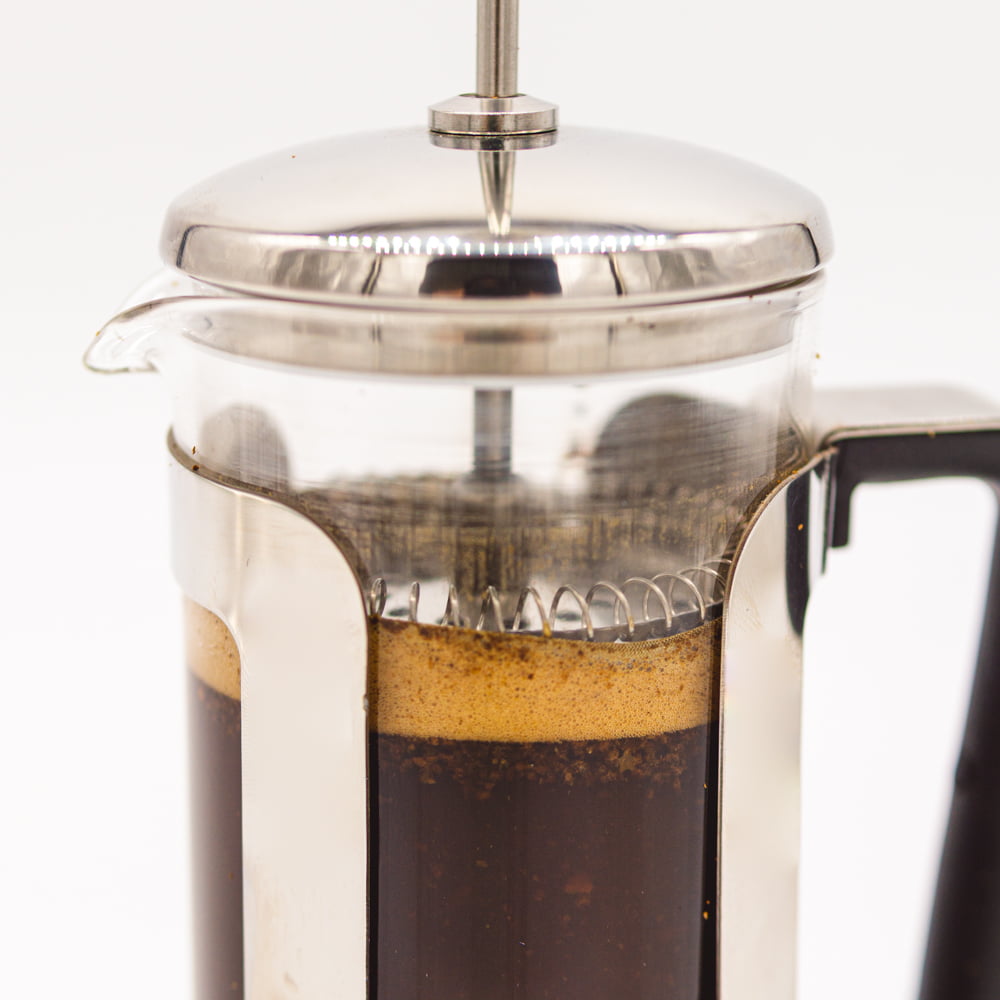
French press. Cafetière à piston. Press pot. Coffee plunger.
All names for the wonderful cafetiere.
But who is responsible for its creation? This question can cause conflict.
Both France and Italy claim to have invented the cafetiere, so it difficult to say. It is believed that the concept started in France where a metal or cheesecloth screen was fitted to a rod and plunged into boiling water.
Although the design was officially patented by Italian designer Attilio Calimani in 1929.
Time
A pretty quick method that shouldn’t take longer than 4-5 minutes.
Difficulty
This is one of the easiest methods of brewing.
What you will need
- A cafetiere
- A timer
Method
- Put your water on to boil.
- Place a scoop of coffee in the cafetiere.
- Pour the freshly boiled water straight over the coffee, making sure it is all fully immersed.
- Place the plunger on top and leave for around 2-4 minutes, but the right time will depend on your grind size.
- Push down the plunger until it reaches the bottom.
- Pour and enjoy.
Result
This method will produce a smooth, mellow taste that allows you to experience all the flavours and aromas of your coffee.
Tips
For a cafetiere, it is best to opt for a more coarse grind size. A good way to measure this is the resistance you feel when pushing down the plunger.
If it is really difficult to push down, the grounds are too fine. If there is no resistance at all and it is very easy to push down, the grounds may be too coarse.
Perfect for
Those who are looking for a cheap and easy method of producing consistently high-quality coffee.
Not suitable if
It is not your personal preference. Cafetieres are suited to most people, so it is really down to personal taste and if you enjoy using a cafetiere.
Pros
- There are minimal steps to this method
- It is easy method to learn
- Easy to make large quantities
Cons
- Requires a bit of practice to find your perfect brew time
- Flavour can be comprised if the wrong grind size is used
- They are usually made of glass which may not be practical for travelling
Chemex
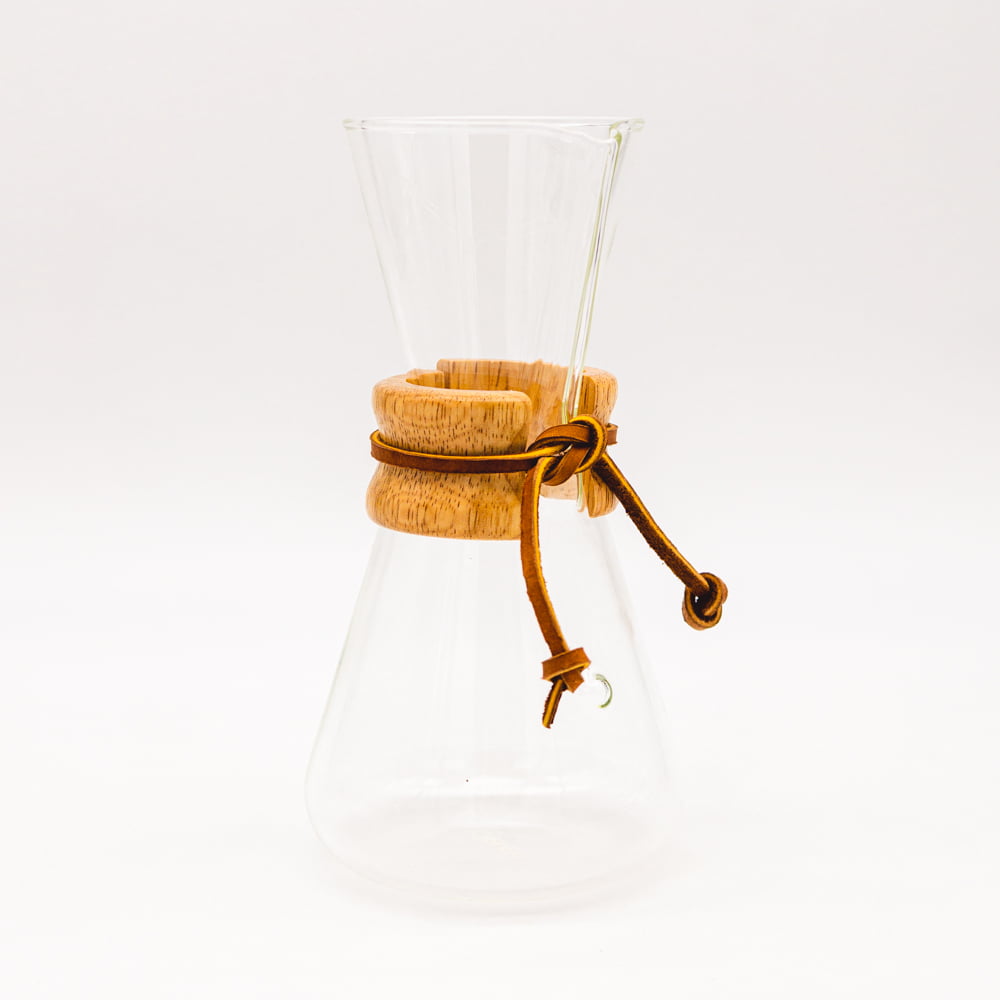
The chemex; one of the most stylish ways to brew up at home.
This beautiful creation will add an air of class to any kitchen work top.
We have Peter Schlumbohm to thank for this luxurious brewing accessory, which he designed in 1941.
In 1958, it was described as “one of the best-designed products of modern times” by the Illinois Institute of Technology. It has even been included in New York’s Museum of Modern Art.
Keep reading on how to make excellent use of this incredible piece of coffee art.
Time
Once the water is boiled this method should not take any longer than 4 minutes.
Difficulty
There is certainly room for error with this method, but after some practice it isn’t too difficult.
What you will need
- A chemex brewer
- Filter paper
- A long-spouted pour over kettle
- A timer
Method
- Put your water on to boil.
- Place the paper filter into the neck of the chemex.
- Pour hot water over the filter and then dispose of this excess water. This is just to wet the filter.
- Put a scoop into the filter.
- Pour the hot water over little by little, starting with just enough to wet the grounds evenly.
- Wait around 45 seconds to a minute.
- Set your timer for 3 minutes and begin to pour the rest of the water very slowly.
- Enjoy!
Result
As the Chemex filter is much thicker, this will produce a richer and more flavourful drink.
Tips
If it takes longer than 4 minutes to filter through, the grind size may be too fine. If it takes less than 3 minutes, it may be too course. Experiment with different grind sizes to get the optimum brew time and taste.
Perfect for
Those who are looking for an intense rich coffee that is packed full of flavour, or a stylish addition to their kitchen.
Not suitable if
You are looking for a more mellow drink that requires less time and effort.
Pros
- You can make a large quantity with just one brew.
- It produces a very rich taste that allows you to experience the full flavours of your coffee.
- A more artistic way of brewing coffee that is an enjoyable experience.
Cons
- Not the best method if you just want to make one cup.
- Requires more attention to detail than other methods, such as the aeropress or cafetiere.

